DIY Ribba Picture Ledge Hack
For my first blog post, I thought I would show you around my work space and a few recent projects that make it a fun and creative space to work in. I really wanted a desk large enough for me to spread out, I tend to work best when I can make piles and my biggest inspiration’s are the people I love, so I like to be surrounded by pictures. So off to Ikea I went, I brought The Hubs for heavy lifting/moral support. The desk we found was perfect, lots of space and super user friendly, assemble legs and set the wooden table on top. The Ikea Ribba picture ledges were perfect for placing all my small pictures on the wall without having to drill a million holes. But, alas, there was no room in the budget for the picture ledges and they were a little to long for the space I wanted to put them in….enter my scrap wood pile and some power tools!

The view from where I spend most of my time.
This project is super simple and amazingly customize-able. You pick the length you like, add some nails, and paint any color under the rainbow and you’re all set. It is also great if Ikea isn’t a car’s ride away and you cant wait the 2-3 business days it would take for them to ship to your house (this project will take two days at the least however, so give yourself lots of time to work on it).
Tools you will need; a miter saw, a circular sander, and a pneumatic nail gun (you can probably do this all with hand tools…but where is the fun in that?). If you have never worked with power tools you definitely want to have an experienced person with you to show you the ropes. Also, always use proper safety gear; eye protection, gloves, and always work in a well ventilated area.
Pick a length for your ledges, for mine I was working with a section of wall two feet wide, so I chose to make mine one and a half feet long. The back is a piece of 1×4, the base is a 1×3 and the front piece is a 1×2. Give each piece of wood a nice sanding before nailing the pieces together. You can glue the pieces together first for extra support if you are making longer lengths or if it will be holding extra weight. I used clamps to hold the whole unit together as I nailed each piece in a few places, with 1×9/16th inch brad nails. Make sure test the depth of the nail on few scrap pieces of wood that are about the same thickness as the project you are working on. I also like to set the depth a little deep (sometimes called counter sinking) so that I can fill the nail hole before painting to create a smooth surface.
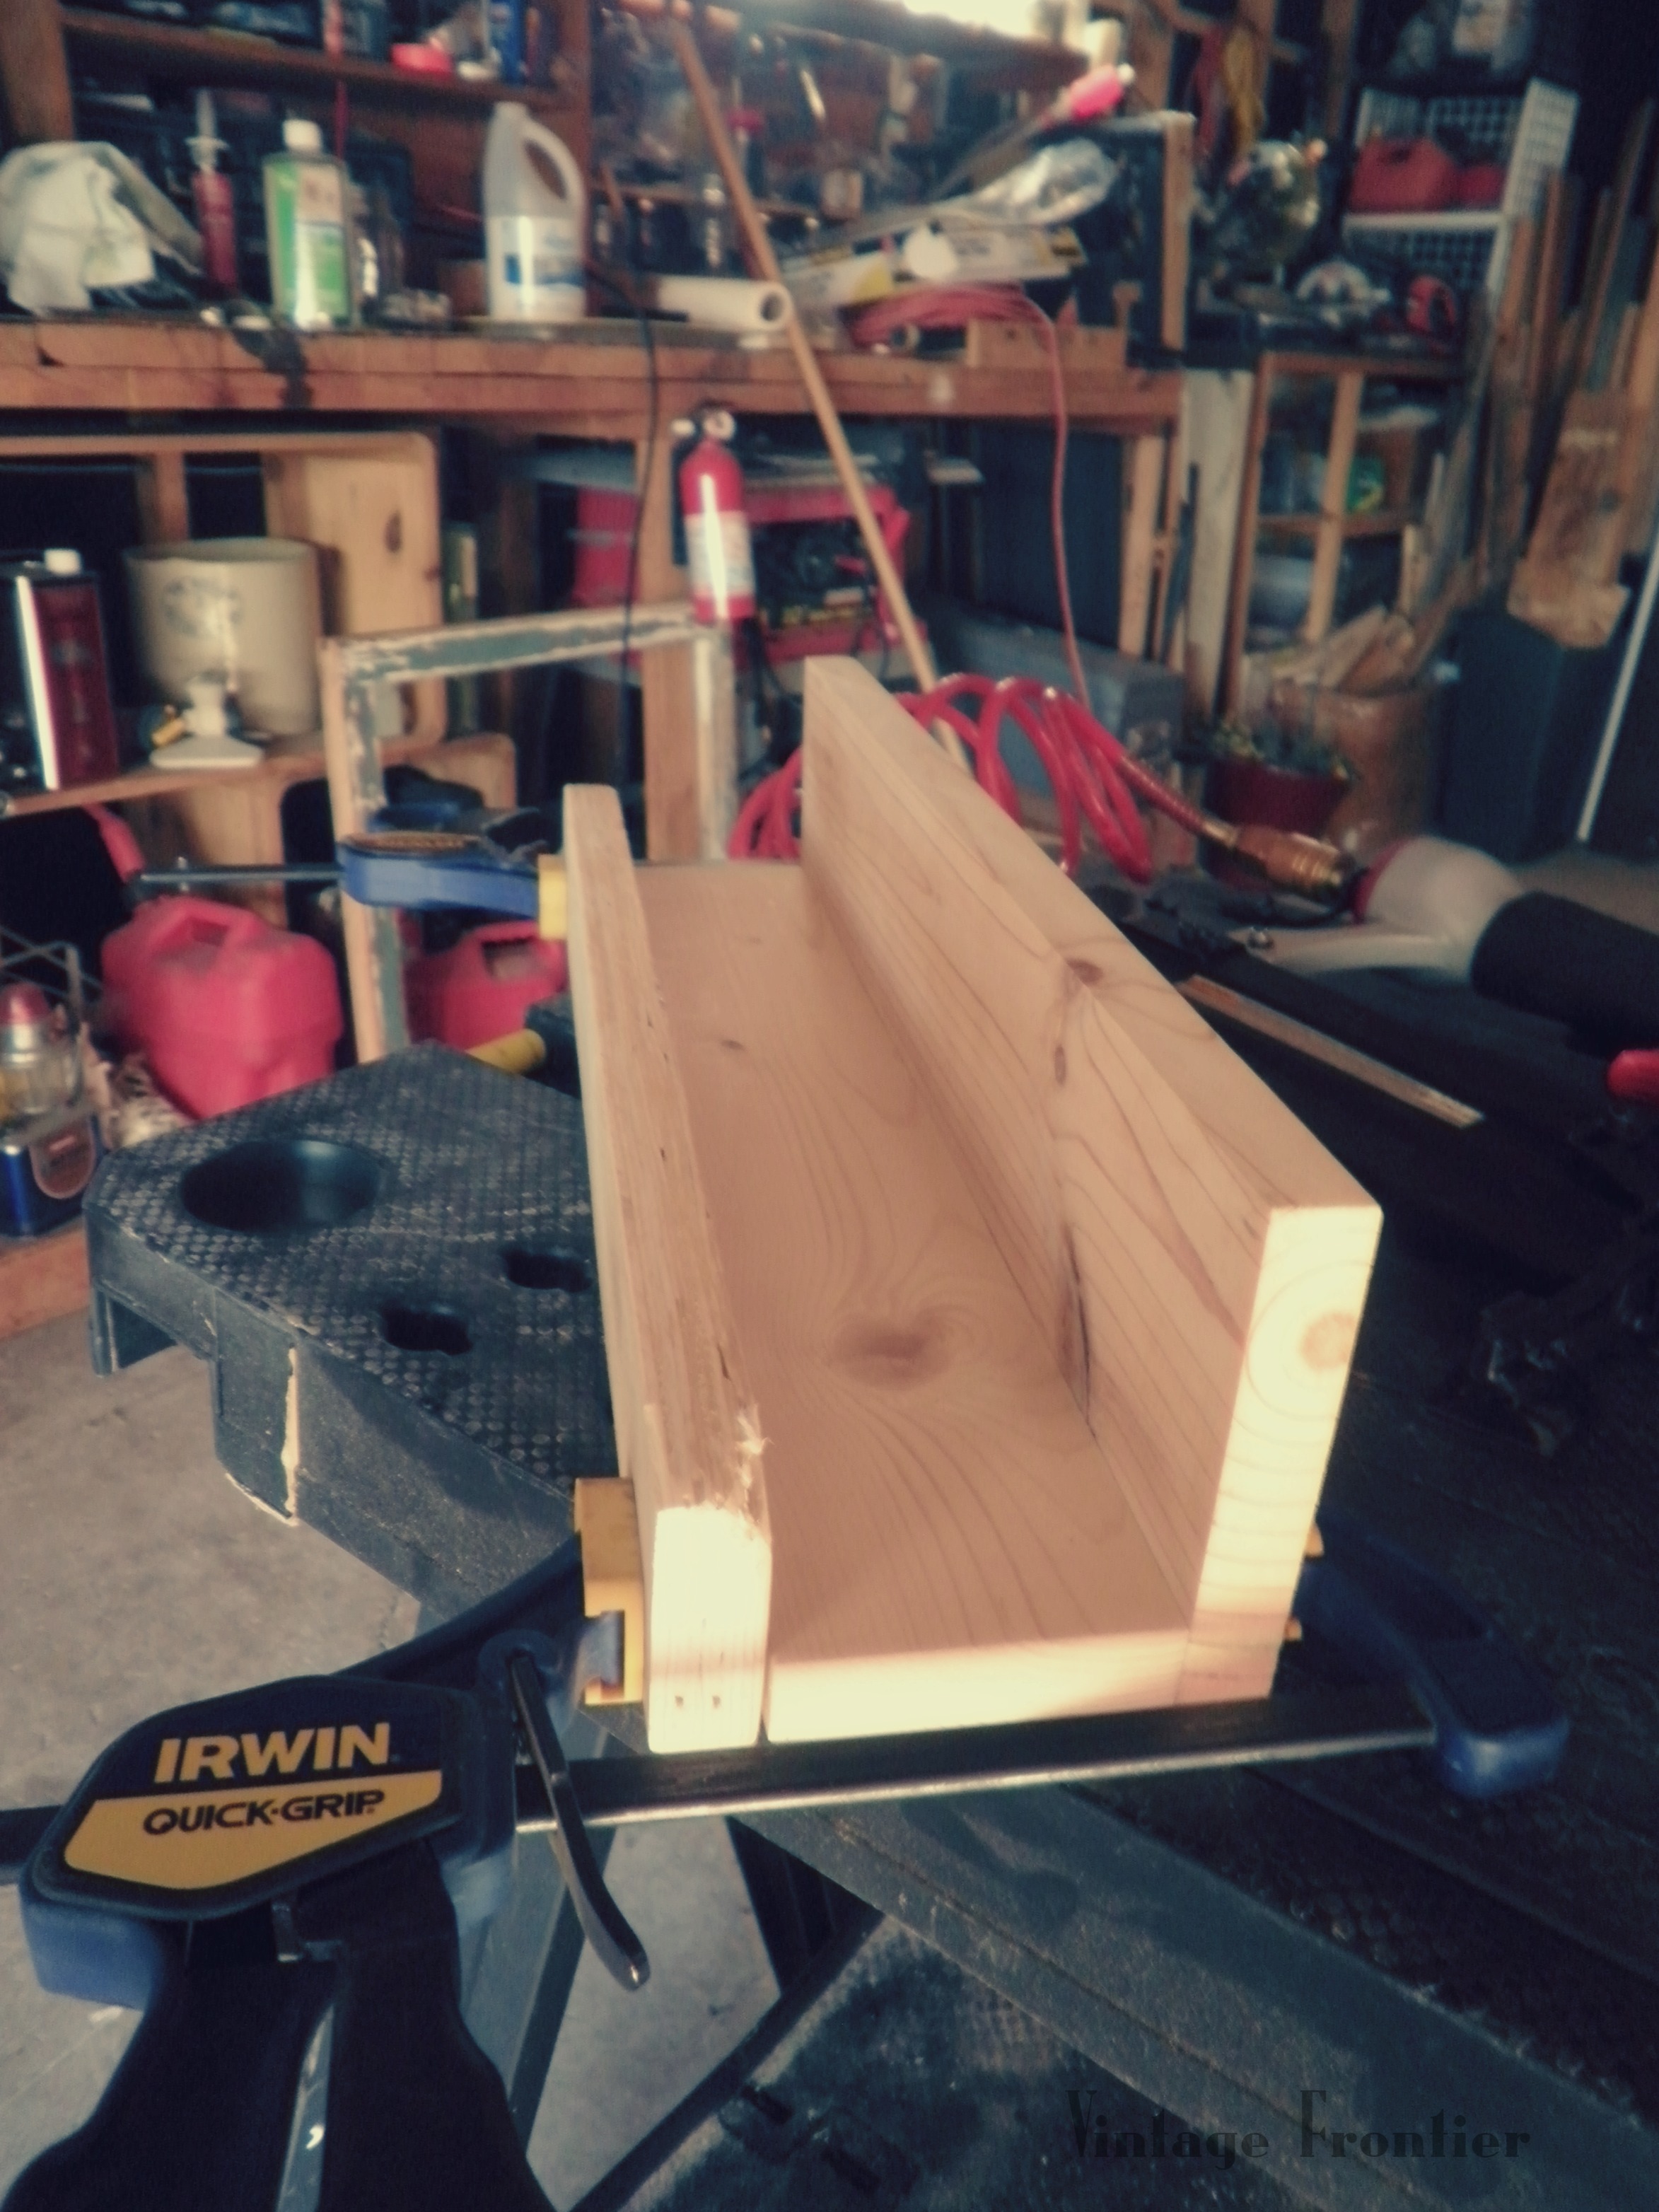
After cutting and sanding this is how the pieces go together.
Use Spackle or caulk to fill in the spaces between the pieces and the nail holes, always allow a proper amount of drying time. Sand one more time to create a smooth surface and wipe with a clean cloth to remove and dust and debris. I went with white so that my fun frames would stand out. I used a primer/paint combo, mostly because its what I had leftover from painting our bedroom trim, and who wants to go out and buy all new paint for a couple of feet worth of wood.
As a side note I did pull all this wood from my scrap pile. I think the front pieces were from a pallet we pulled apart to make our patio furniture (stay tuned), and the base and back were from a much larger piece of wood that I ripped down to make 1×4’s and 1×3’s. So there are a lot more imperfections in my pictures ledges (I like imperfect things…I can relate to them). If you want a cleaner look just get fresh new wood from the lumber yard/hardware store, and keep those edges nice and sharp when you sand them. For extra protection you can add a few coats of polyurethane.
I added picture hangers to the back of each picture ledge, one on each end so that they would hang level.

All finished and hung.
Share this:

One comment on “DIY Ribba Picture Ledge Hack”
Leave a comment
Liebster Award

The Peony Project

The Peony Project

Pingback: The Retro Re-pin Party Week 37 featuring Icing Carrots and a Picture Shelf Hack - Sustaining the Powers